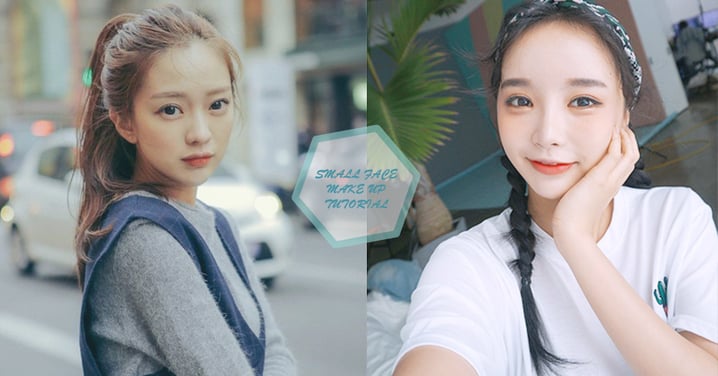
姐不想再當大餅臉女生!掌握「偽小顏修容術」的小心機,自拍時也要爭著站最前的一個咯~
女生最在意自己的臉型又圓又大,更可怕是每次自拍時,大餅臉的你完全會擺佔了整個手機屏幕的三分之一,把所有人都要擋住了,所以大餅臉女生每次拍照時都只能爭著站到最後,令自己的臉型看起來細一點!其實學懂偽小顏修容術的化妝技巧,大餅臉一樣可以會馬上消除啊,以後自拍也就不用怕會迫爆整個螢幕了,令你自信的站在最前吧!
 Photo from icecream12
畫出亮色及深色的修容地方 (STEP1-6)
STEP 1: 用亮色修容在額頭畫出長型三角形,三角形畫得越長,在視覺上臉型亦會較長!
 Photo from pinterest
STEP 2: 從眉頭至鼻頭塗上亮色修容,鼻梁寬塗粗一點,相對亦然
 Photo from pinterest
STEP 3: 下巴及唇峰畫出微微的倒三角形
 Photo from pinterest
STEP 4: 在兩頰畫上倒三角形的修容,必需在眉尾、眼尾及嘴角的範圍內畫上,若超出這範圍,臉部看起來會很寬啊~
 Photo from pinterest
STEP 5: 從顴骨至下巴的位置用深色修容畫上直線,斜度高一點視覺感會更瘦啊~
 Photo from pinterest
STEP 6: 用深色修容在額頭兩邊及上方畫上直線,會使額頭看起來更窄,又能突顯額頭中間打亮的位置~
 Photo from pinterest
 Photo from pinterest
用海綿推勻修容的地方 (STEP 7-11)
STEP 7: 用海綿用輕拍的方式推勻額頭中間打亮的位置
 Photo from pinterest
STEP 8: 由上而下拍勻鼻樑的亮色地方,確保不會有明顯的界線感才行啊~
 Photo from pinterest
STEP 9: 再拍勻下巴及唇峰的亮色修容,不要與深色的修容混合
 Photo from pinterest
STEP 10: 再把兩頰的亮免修容輕輕拍勻
 Photo from pinterest
STEP 11: 用海綿把深色修容從內而外拍勻,同時把臉上的深色修容自然推至連在一起,確保不會有明顯界線,才能營造出自然感!
 Photo from pinterest
 Photo from pinterest


